Now that you have booked your trip, it’s time to start getting your equipment together. (For information or booking the trip, getting to and from the WCT, and other general information, please see my previous blog post dated 7 January 2019.
What to expect on the WCT:
Weather:
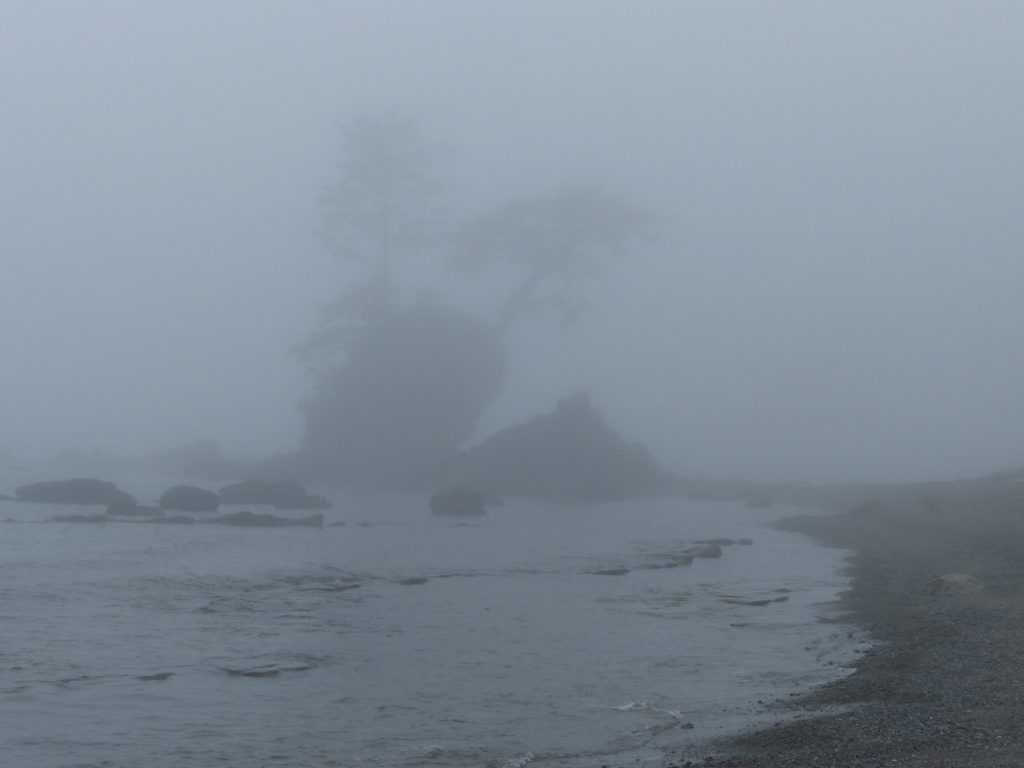
As explained in the weather section of the previous blog post (Hiking the West Coast Trail – Part 1), you need to be prepared for various types of weather – from warm sunny days, to rainy days, and foggy days. For suggestions on what to bring for clothing, please see the Suggestions and Recommendations section below.
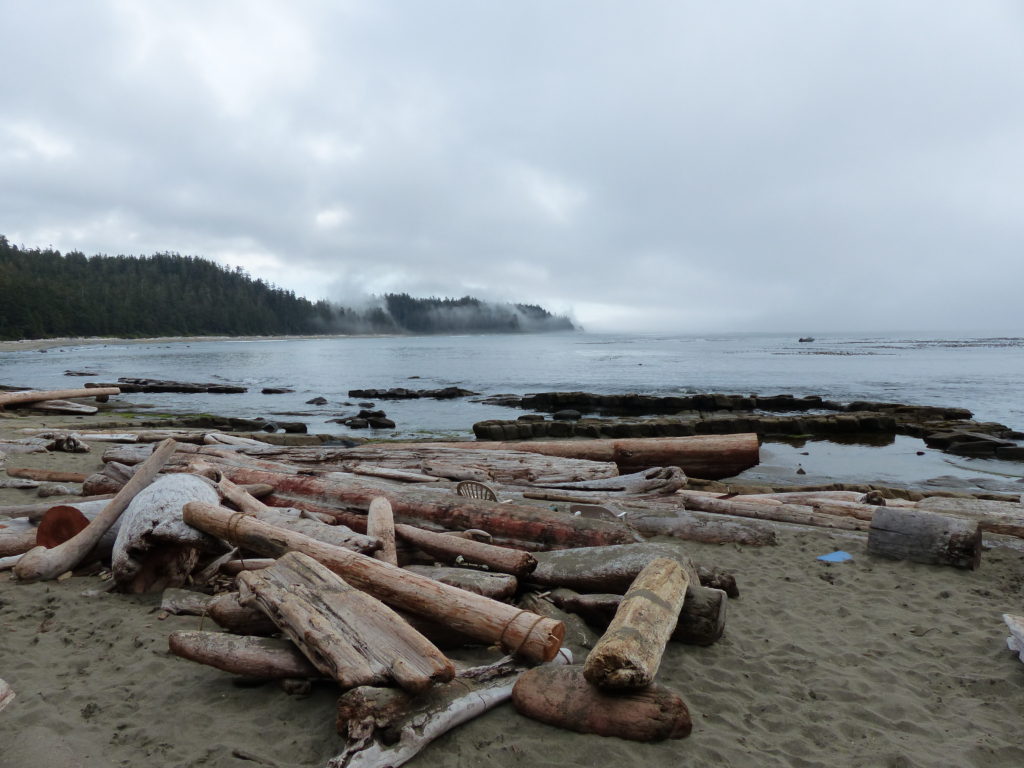
Terrain:
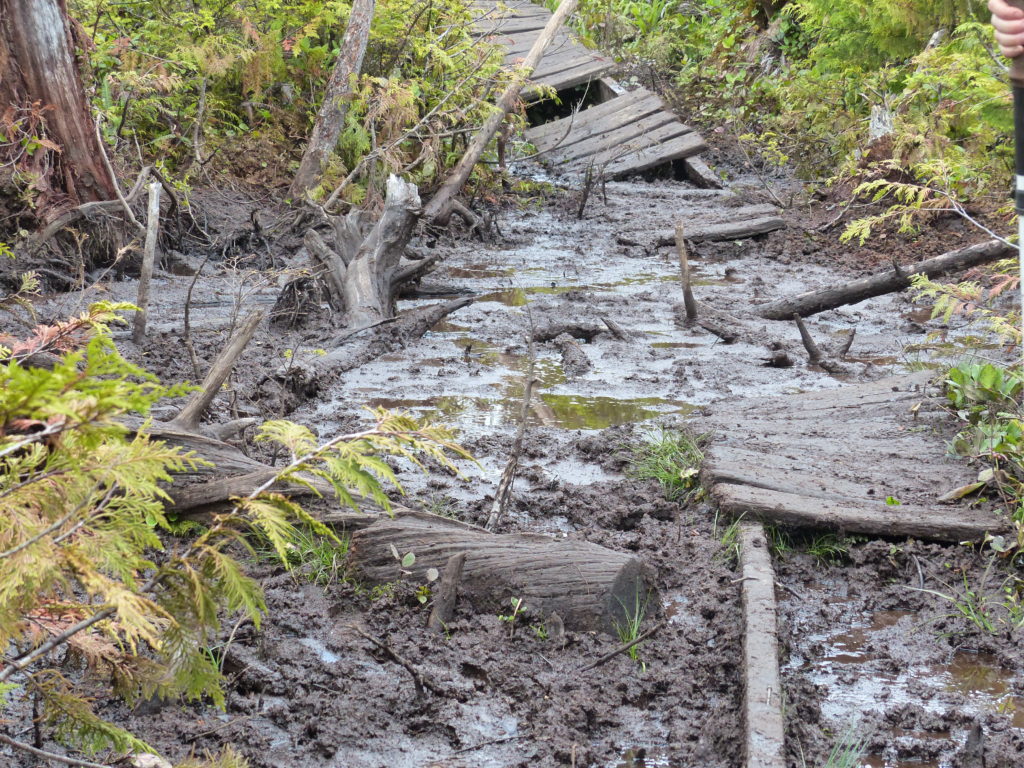
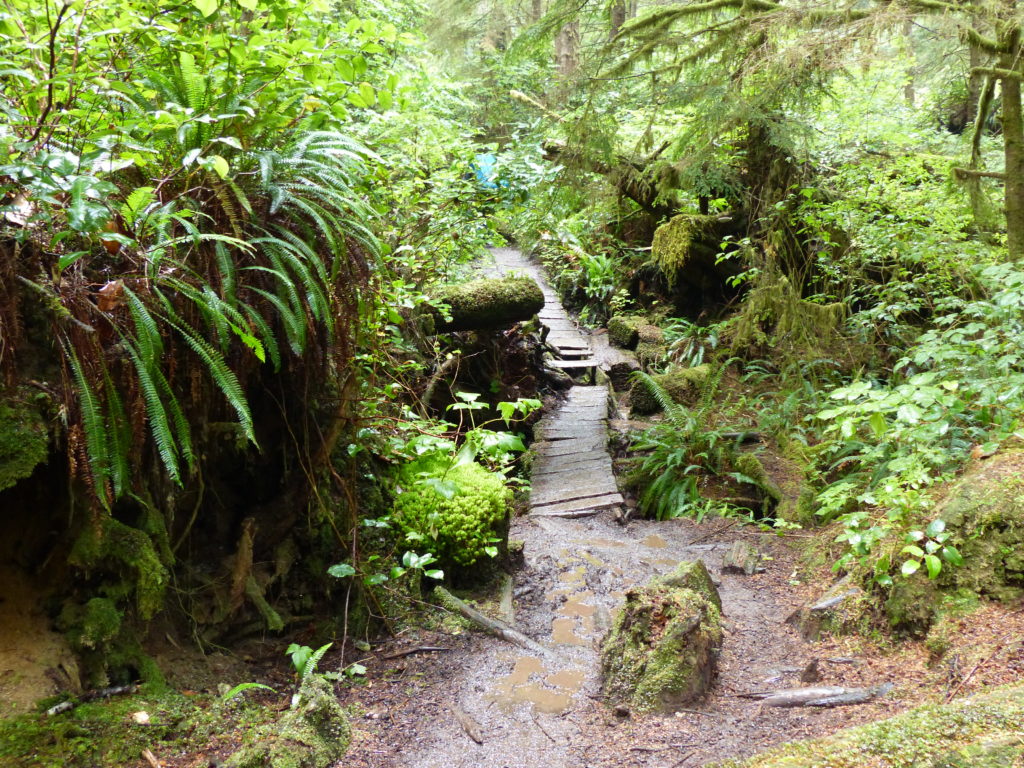
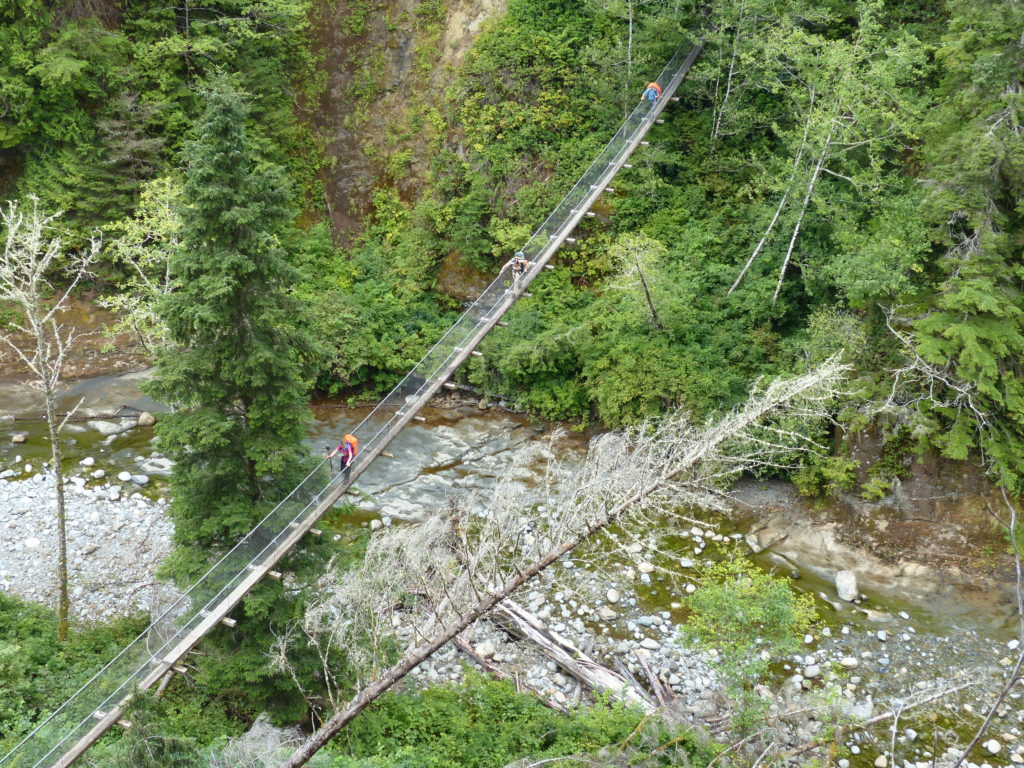
You will encounter all kinds of terrain on the WCT, including:
- mud (and giant mud swamps)
- logs (to cross and duck under)
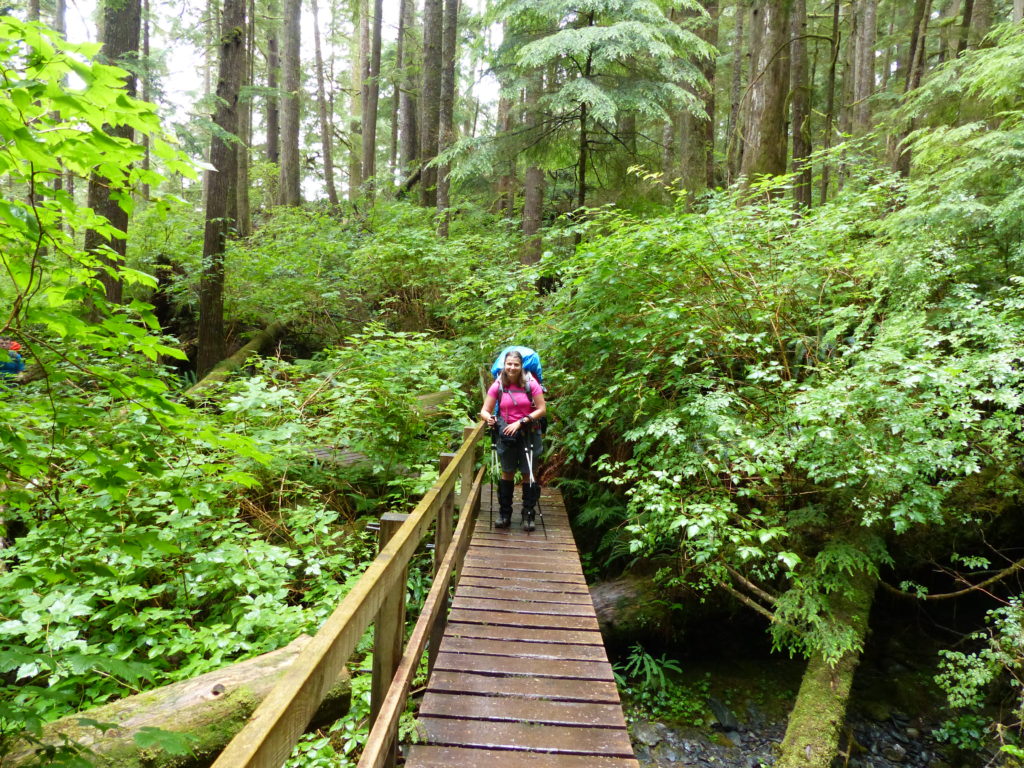
- boardwalks (some new and in great shape, others falling apart)
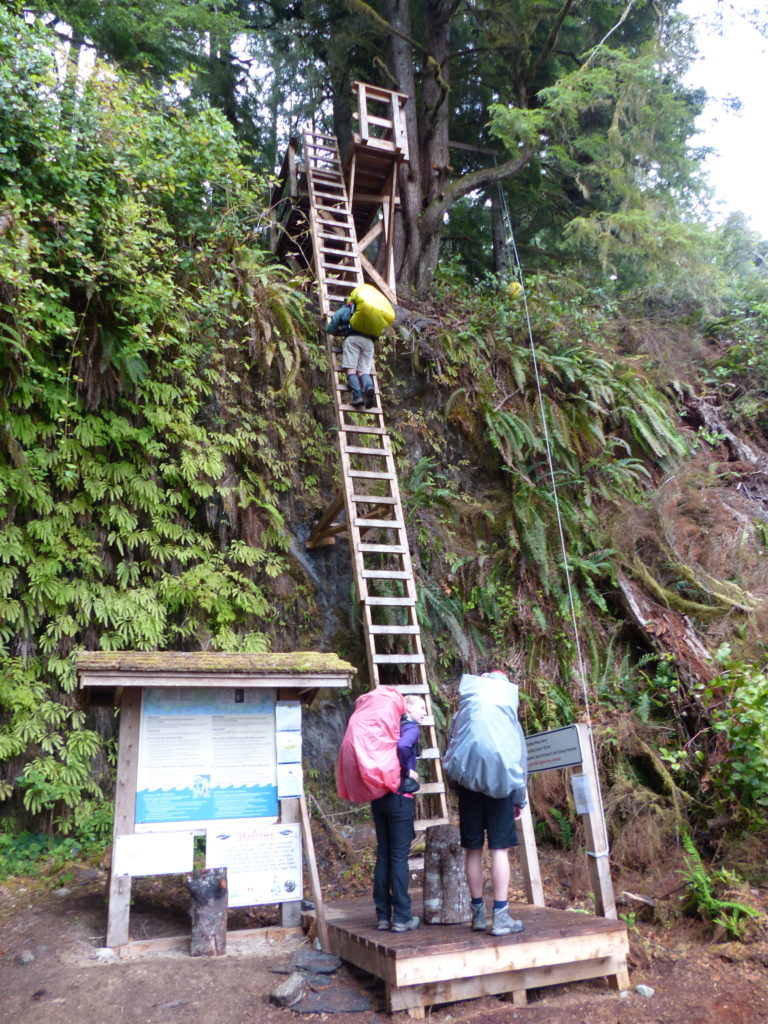
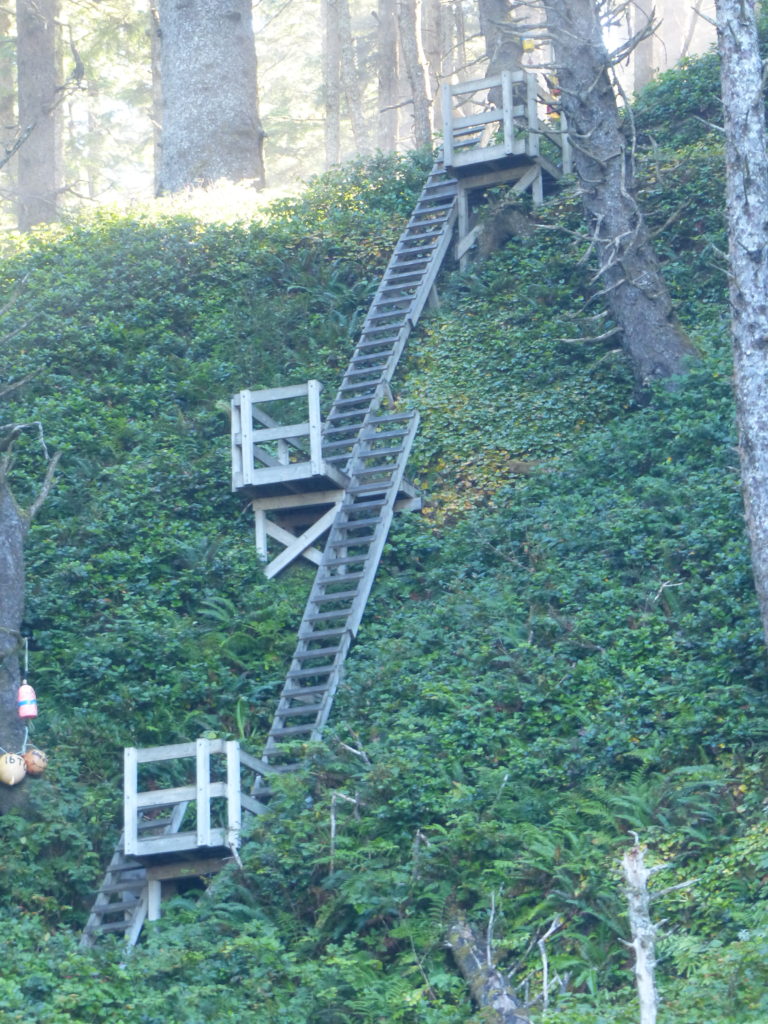
- many ladders
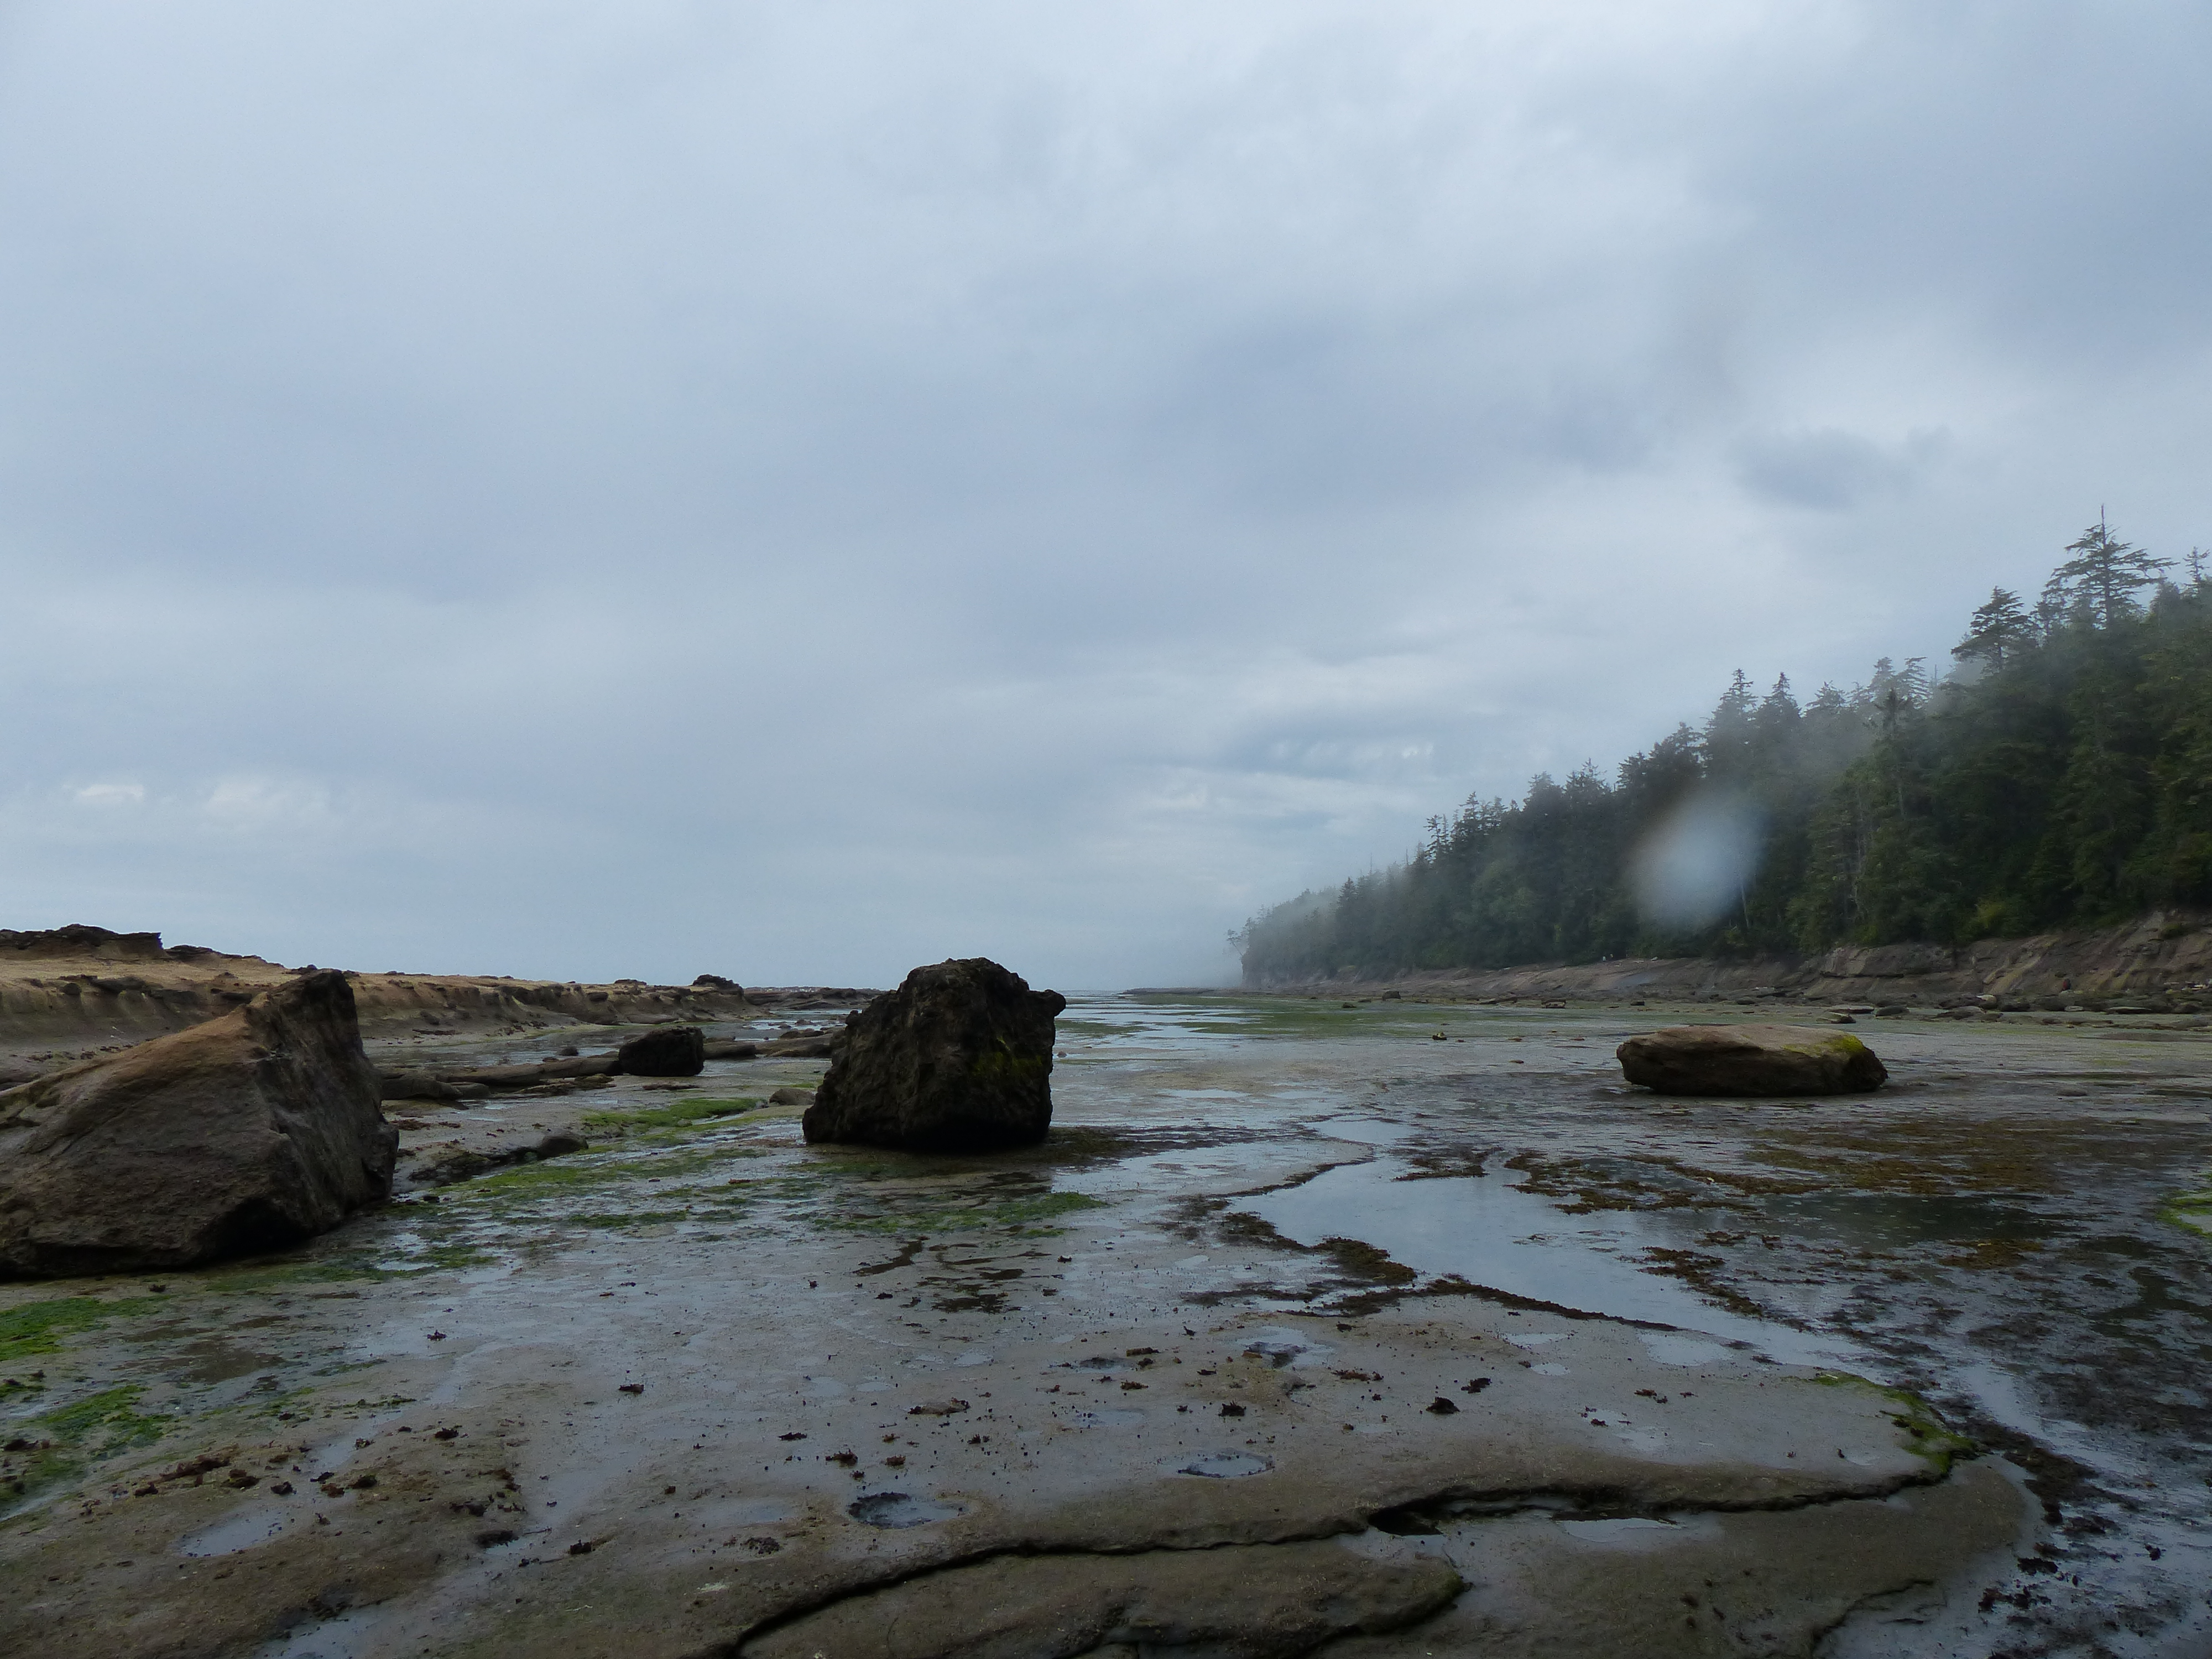
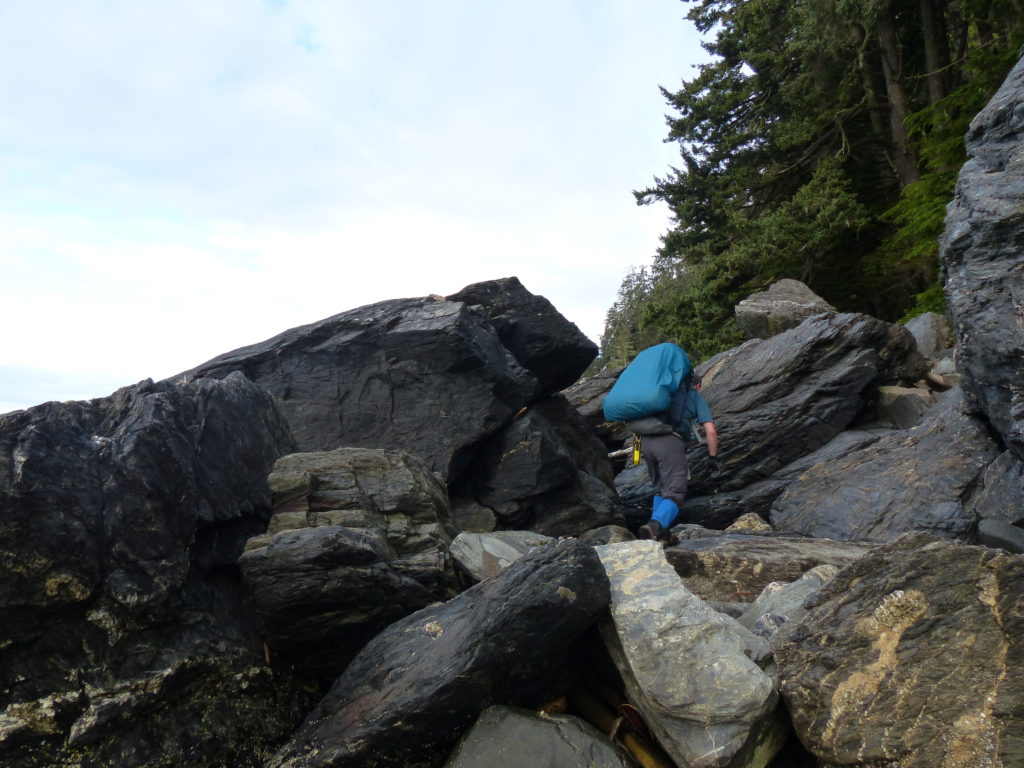
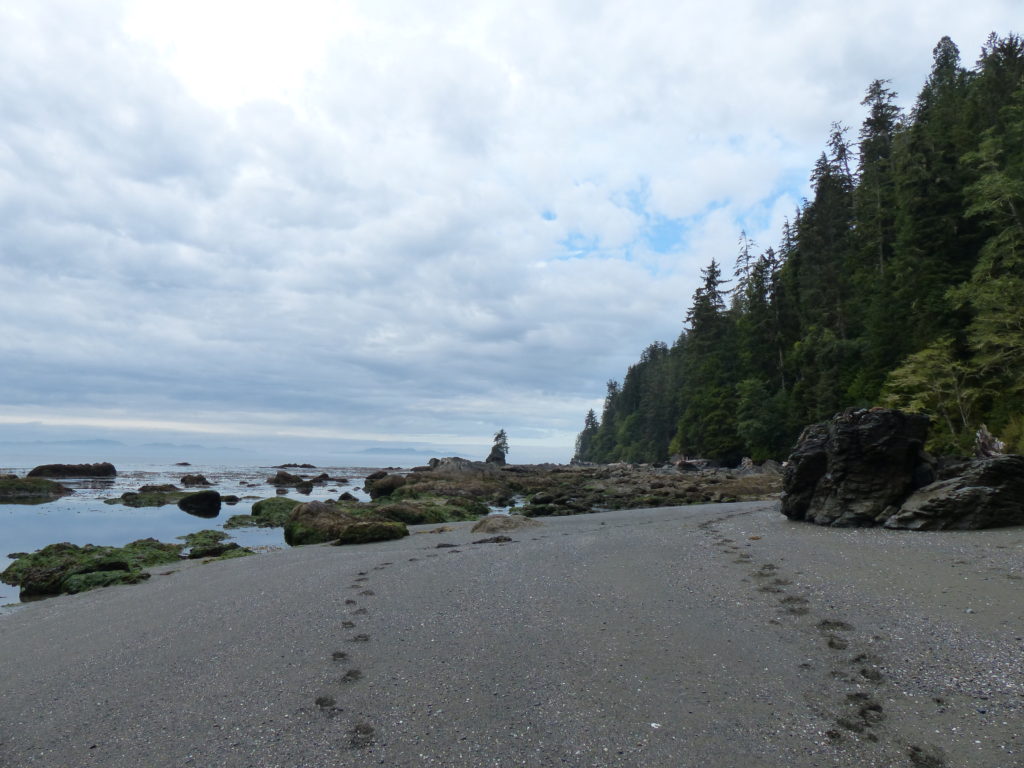
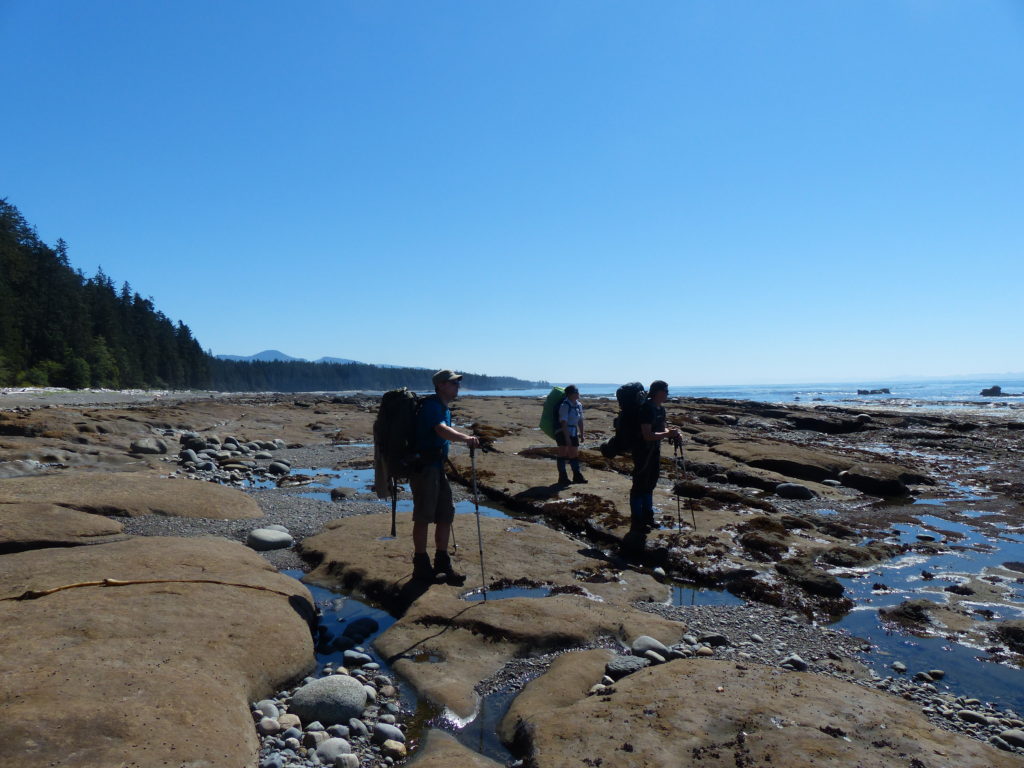
- beach (sand, rocks, shale)
- dirt trail
- Note: The most difficult terrain (lots of mud, logs, obstacles, etc is on the south end of the trail – basically day 1 and 2 if starting at Gordon River. The terrain gets a little easier after that – BUT that does not mean that you will not encounter swamps and logs – just less of them as you head north. As well, the amount of mud will be dependent on the weather and the amount or rain received.


Outhouses:
The outhouses on the WCT are composting toilets in pretty good shape. They contain wood chips which you throw in the toilet after you go – keeps the smell away. Be sure to bring your own toilet paper with you. I always pack a roll in a Ziplock bag. Be careful not to forget your toilet paper in an outhouse, as somebody may claim it. A friend of mine likes to bring the little Kleenex packets.
Bear bins:
All campsites have metal bins for storage of food overnight. You are required to put your food in these bins to keep various critters away from the tents. That said, one camping area had a broken or missing bear bin last time I hiked the trail and there wasn’t enough space for everyone. We had to hang our food up in a tree. I recommend bringing a dry bag and some rope in case you need to hang your food.
Campsites:
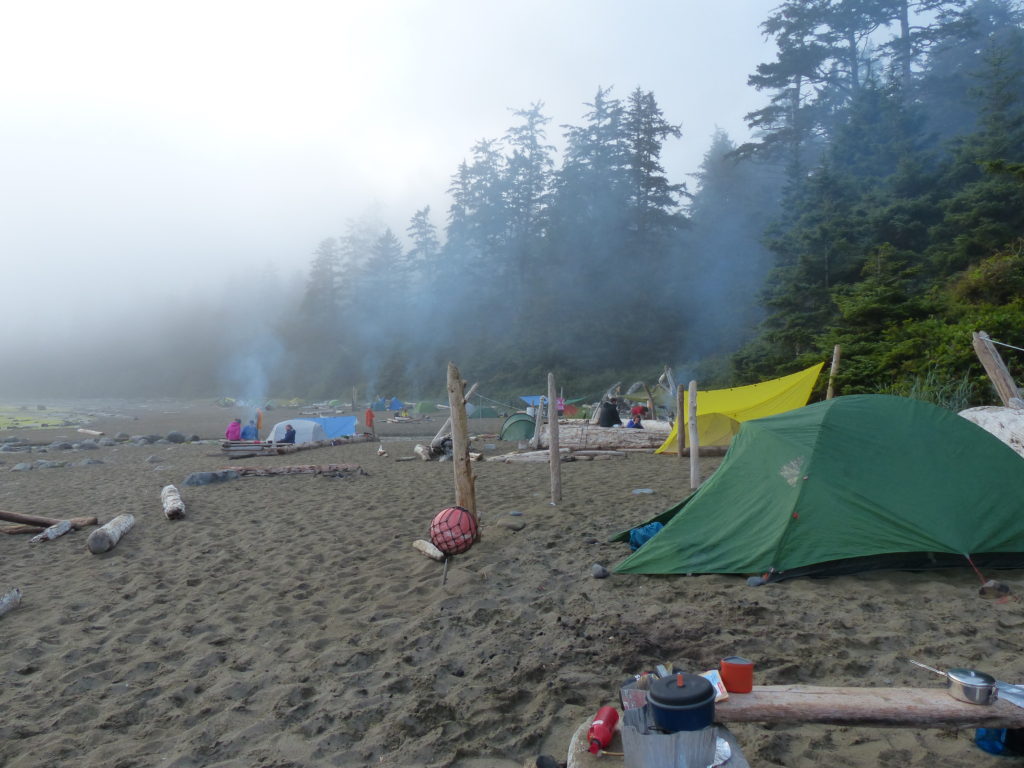
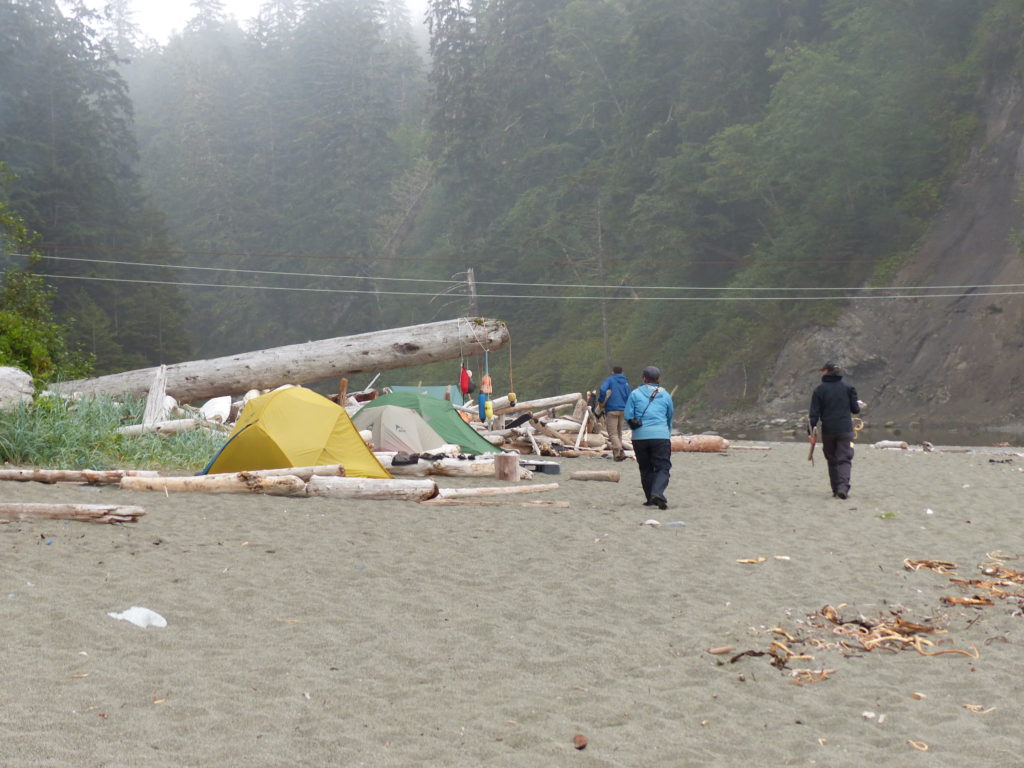
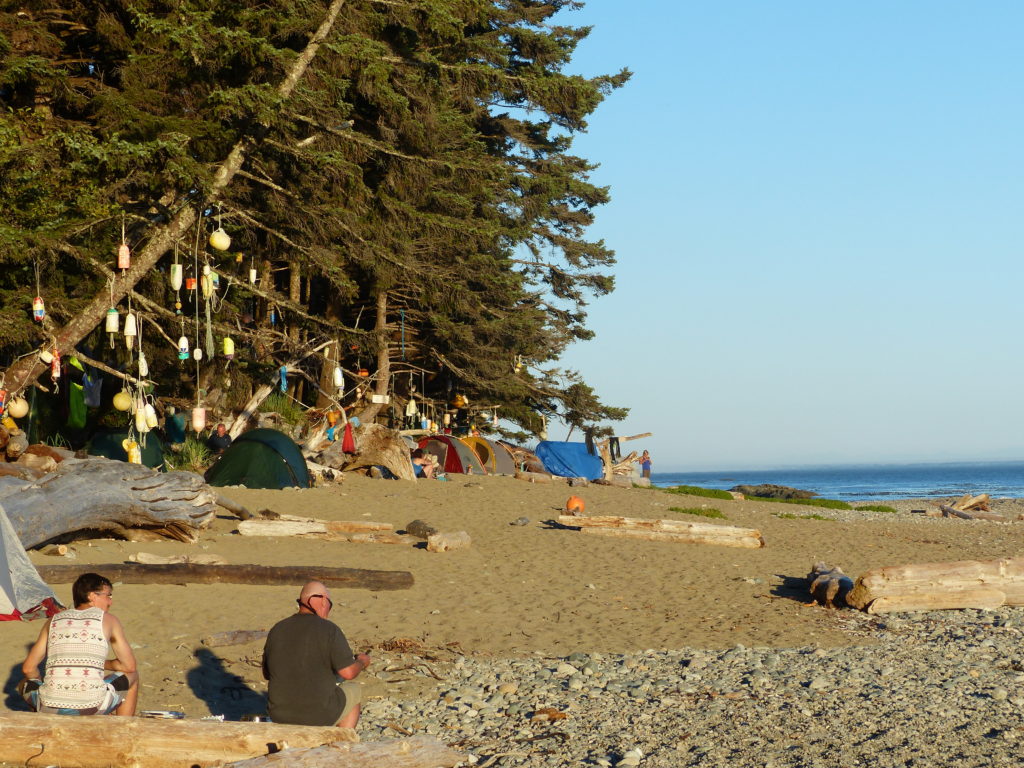
All camping areas are located on beaches, which is quite lovely. Important point: Make sure you set up your tent above the high tide line (this obvious as it is the line made by driftwood). If you go below that point you may find yourself quite wet in the morning. At some of the campsites you have to climb a lot of ladders to get to and from the trail.
Campfires:
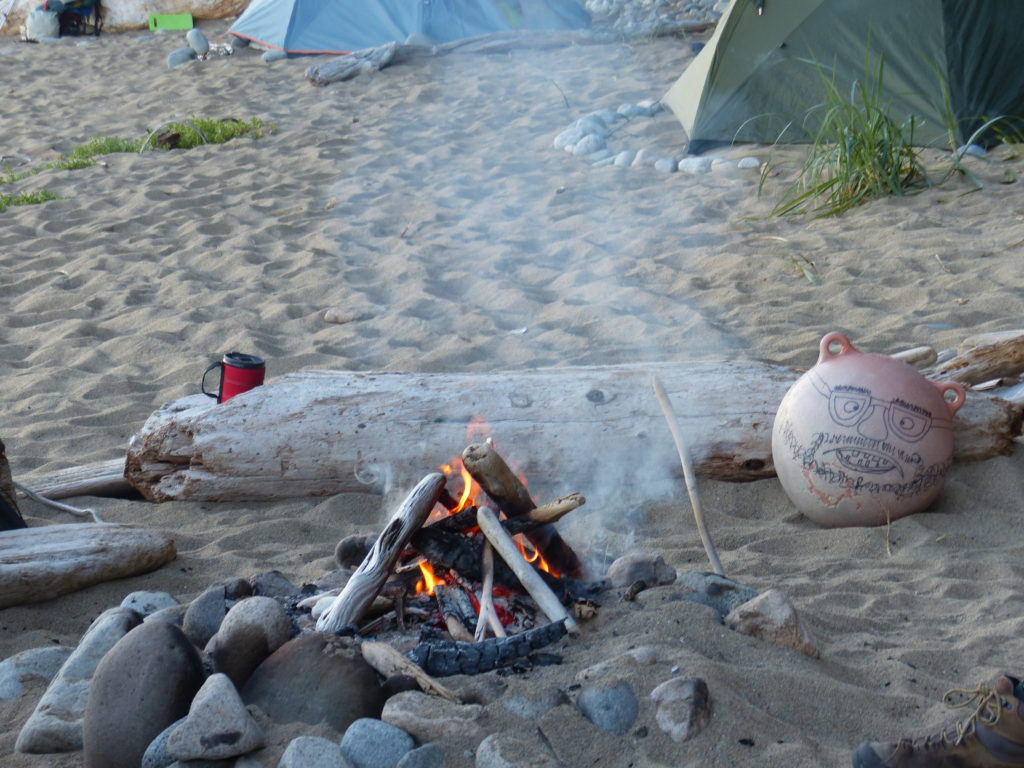
You can make campfires using the driftwood (though it is sometimes rather wet if it has been raining). I recommend bringing a few fire starters (or cotton balls smothered in Vaseline) as those will help get those fires going if the wood is too damp. Make sure you bring lots of matches as well (preferably water proof).
Communications and cell phone reception:
Do not count on any cell phone reception while on the West Coast Trail. Some people are able to get some reception in certain places, but it’s rare. When you do your orientation, the Parks Canada Conservation Officer gives a small form to fill out if you get injured and need help to get off the trail. They tell you to fill it out, give it to another hiker, and have them deliver it to the next lighthouse or trailhead. Having a satellite communication device such as the Garmin Inreach might give you peace of mind.
Wildlife:
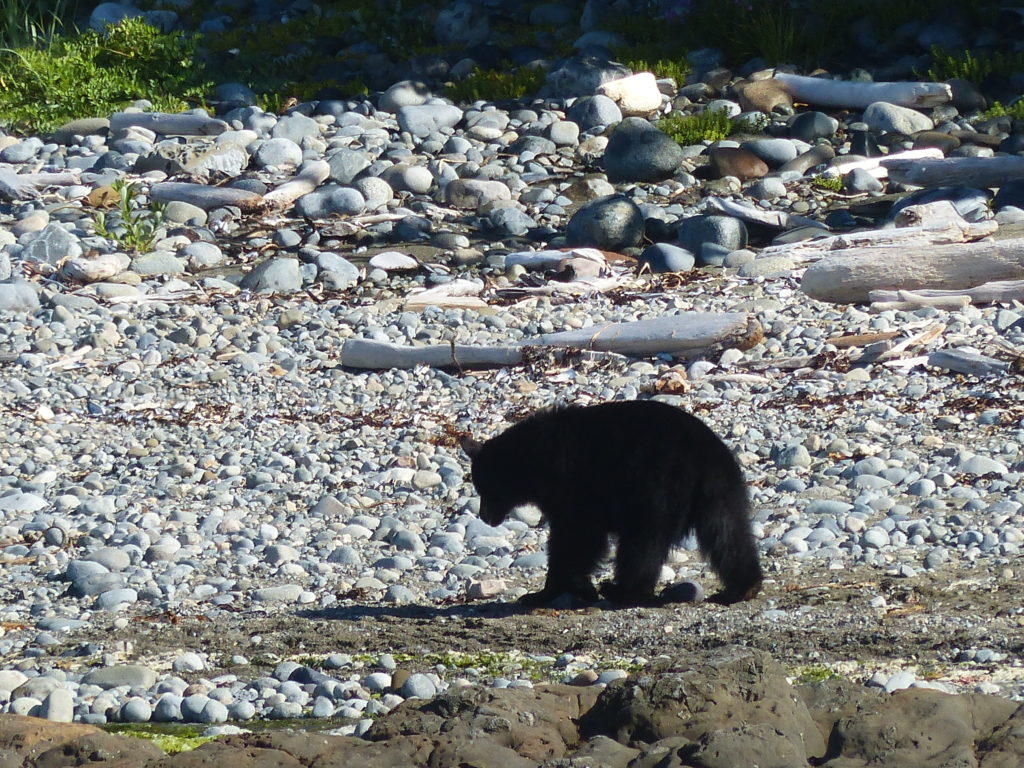
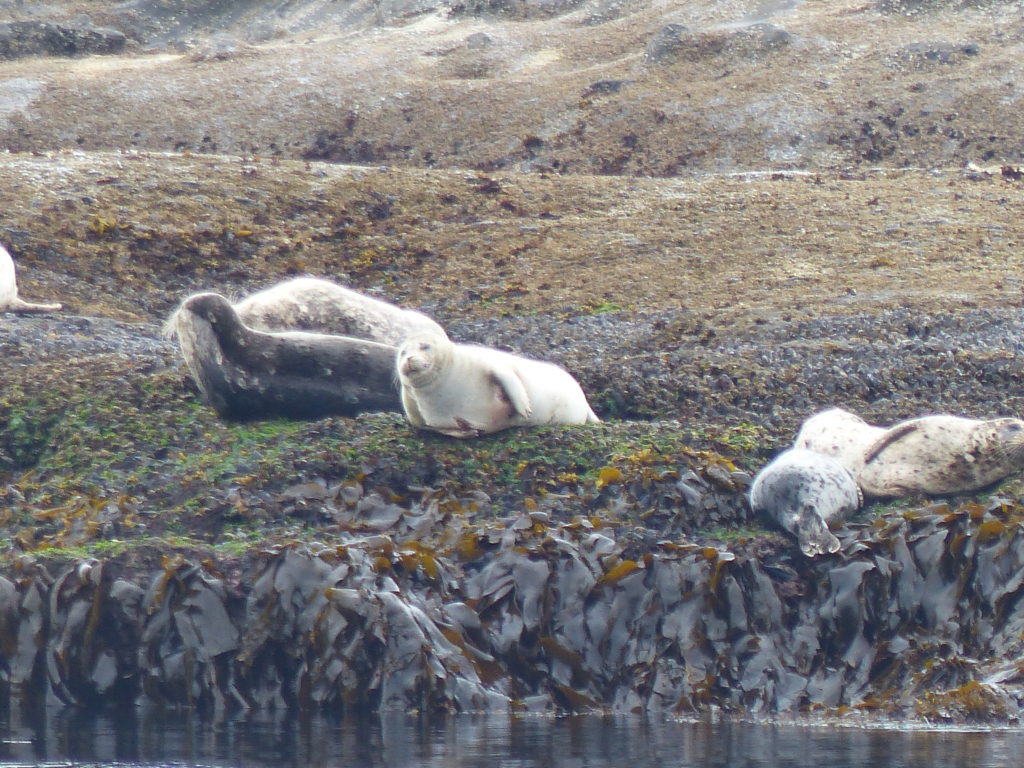
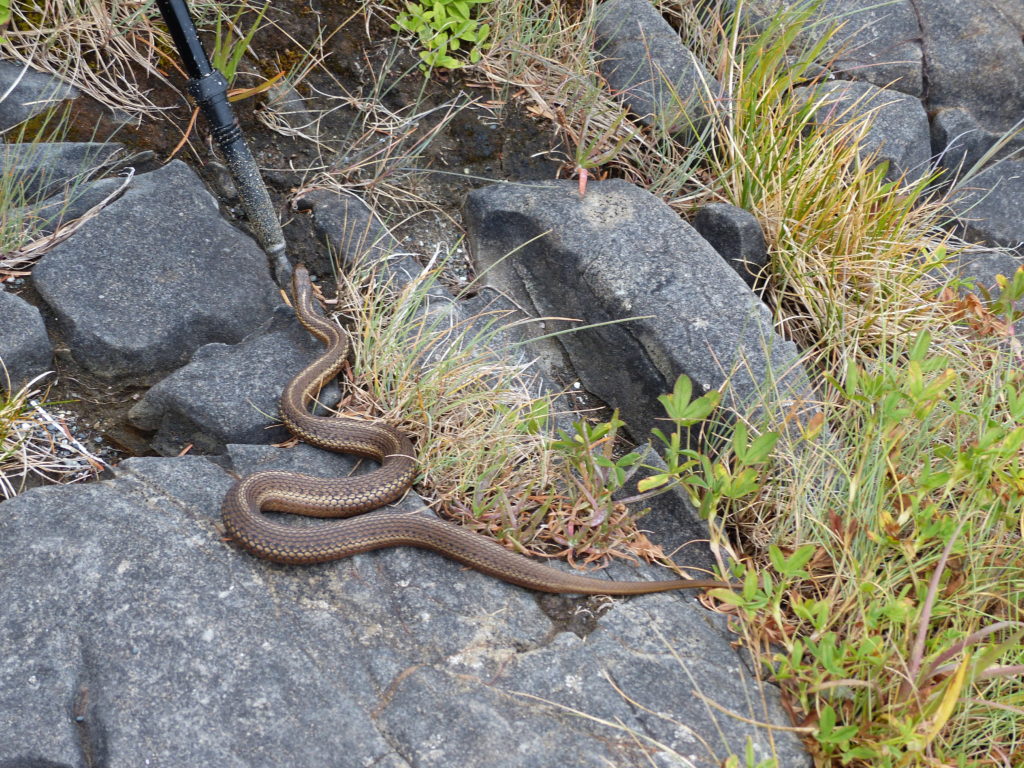
There is a lot of wildlife to see while hiking the WCT from sea stars and anemones to sea lions, blue birds, black bears and more. You will be briefed on any recent bear or cougar sightings during your orientation. Of the 3 times I have hiked the west coast trail, I saw a bear on the trail twice. The last time, he kind of hung out but was exactly where we needed to go, so we hung back and made noise (talking, singing) and the bear eventually wandered away. A Parks Canada Conservation Officer told us of a person who left their backpack unattended while she set up her tent – and turned around to see a bear rummaging through her pack. He found her trail mix and took off with it. I also once had trail mix stolen by a blue bird, when I left it sitting on a log. So bottom line – be aware of your surroundings, make sure your food goes in the bin when you’re not eating, and carry bear spray.
Suggestions and recommendations:
I find that with every backpacking trip I do, I learn something new about equipment, what to bring, what I should have left behind, etc. Experience really is the best teacher. Here’s my suggestions based on having hiked the West Coast Trail three times and having done many other backpacking trips.
Getting there: See previous blog post dated 7 Jan 2019.
Number of days: 7 days (the 7th being a short day of just 12km out) allows for a pretty descent pace, giving you time in the evenings to relax, and allows for one short day (about 4km of hiking) and then relaxing on the beach and was my preference. The second time I hiked the trail, we did it in 6 days, which meant longer days. It was fine, but I found I enjoyed exiting on the 7th day as it allowed for a little more down time. Some people do it in 5, which is pretty quick. On the last trip, we came across a trail runner who did it in ONE DAY! (I think he was nuts). Overall, for the average hiker, 6-7 days is comfortable. If you want to spend a couple extra days relaxing you can do it in more days, but then that means bringing more food – therefore more weight.
What to bring (and not to bring):
Keep in mind that you will have your pack on your back for the number of days you are planning on taking to do the hike (for most people at least 5). While you want to make sure you have all the essentials, you also don’t want to fall down under the weight of your pack. (Climbing up ladders and getting up on logs is significantly more difficult with a heavy pack). The last time I hiked the trail, my friend managed to get his pack down to 29 pounds (compared to my 45 pound). Needless to say, his back was less sore. The difference was primarily due to a few items that I did not want to do without. So, if you are like me and like certain comforts, here’s some food for thought:
- Clothing:
Part of the reason for my pack being heavier than my friend’s pack was due the fact that I had more clothes (I like having a clean dry pair of socks for every day of the hike and 1 shirt for every 2 days to stay fresh but also because if it rains things don’t dry out). My friend whom I hiked with had a total of 2 shirts, which certainly lowered the weight of his pack, but not really something that works for me.

That being said, here is my suggested list of clothing items to bring with you on the West Coast Trail:
- A pair of socks per day (or at least 3 or 4 pairs socks if you don’t want to carry 6-7pairs). Hiking in wet socks sucks, so if you wash them and it rains for a couple days in a row, you want to have a couple of extra pairs. I also have underwear for every day and a bra for every 2 days.
- 2 extra hiking shirts – so you can change shirts every couple days (you can wash one and dry on your pack while you hike).
- Rain jacket (thin shell is sufficient). I have an ultra light weight Gore-tex.
- I normally wear a pair of pants that has zip off pant legs and I will wear the same pair for the whole week-long trip. I would recommend an extra pair of shorts (and bathing suit top for ladies) (especially if you think you might like to go in the ocean or wash in one of the creeks).
- Long underwear (pants and shirt) to wear in the evening/to sleep in. I usually use my Icebreaker merino wool long underwear.
- Light fleece jacket as evenings on the coast can get chilly
- Sandals or other footwear to wear in the evening – to give your feet a break. I recommend Keens as they are good for wading in the water, they protect your toes, you can wear socks in them, so can be used for crossing streams or hiking short distances. However, they are on the heavier side, so will add weight to your pack. Some people prefer to pack water shoes or flip flops or little down slippers.
- Sun glasses/ hat/ buff
- Comfortable hiking boots with ankle support (Between the mud, logs, ladders, etc, I recommend boots that will help prevent ankle injury. If you are injured there are only a few escape routes, and if you can’t walk due to an ankle injury you may be waiting a while for help).
2. Food suggestions:
Food is one of those things that requires a fine balance between bringing sufficient nutrients (and a little extra) but also making sure you don’t overdo it, as it can add a lot of weight to your pack. For example, while bars are good, they weigh a lot. Here’s what I find works well:
Breakfast:
- For coffee drinkers: Starbucks Via packets (the lightest coffee I have found)
Note on Coffee: I like my good coffee- so I had packed in my AeroPress the last time I hiked the WCT. Was it a good idea? To be honest NO – despite being a coffee snob (and despite everyone being jealous of my tasty coffee). After that trip I switched to what is now my coffee recommendation for backpacking: Instant Via coffee packs from Starbucks. They are tiny and weigh next to nothing and taste pretty good. In my opinion, they are the best option when compared to other instant coffee packs in terms of weight to taste ratio. You can find Starbucks Via packs in many places, but probably best deals are at Costco and on Amazon.ca.
- Dehydrated milk (can be used in coffee and oatmeal if you like it). Random fact: Amazon.ca has several types of dehydrated milk powders including whole milk, skim milk, and even coconut milk.
- Instant oatmeal (2 packets per meal) – I recommend the Qi’a brand for a healthy option with no added sugar.
- Granola/dehydrated milk/dehydrated berry mix (Mountain House has this mix but you can make your own) – one pack of the Mountain House granola mix is one breakfast. I will generally bring a couple of these and eat them on long days as they are high in calories.
- Dehydrated strawberries/raspberries – I like to add these to my oatmeal. You can also get these on Amazon.ca
Lunch:
- Individually wrapped cheese (Balderson, Babybel) ** they keep really well for several days!
- Tuna or salmon packets (not cans)
- Individual
p
Peanut butter/almond butter/honey packs - Something to put your peanut butter/salmon/cheese, etc on, such as Pita bread, buns, or melba toast. Melba toast is tasty and light and goes really well with the Babybel cheese, but gets easily smooshed into little crumbs. I like to bring a few, but carry them in my cup or stove to prevent smooshing. I also usually bring a couple of buns and/or a few pita breads for the first couple of days.
- Dried cranberries/nuts/trail mix (I usually put my trail mix is small Ziplock baggies and plan for 1 baggie for about 2 days. I find that trail mix, while great, does add a lot of weight.
Supper:
- Dehydrated food packages from MEC/REI. Examples of brands include Mountain House, Backpacker’s Pantry, and Mary Jane’s Farm. There are many more out there now too.
Note: many of these meals are meant for 2 people so it works well if you are hiking with a buddy who shares your taste in food (or if you require two portion sizes). My personal favourite is Mary Jane’s Farm.
These are smaller serving sizes made for one person, and the ingredients are all organic and much healthier than some of the other dehydrated meal options. Of course, you can always invest in your own dehydrator and make your own meals. I bring one for each day + 1 extra.
- Knorr vegetable soup (as a side)
Snacks/other
- Pepperoni sticks
- Beef jerky/bacon jerky
- Trail mix/nuts (a small baggie for every 2 days)
- Dried fruit (strawberries, bananas, and apples are very light)
- Bars: Protein bars/Lara bars/granola bars/fruit bars (whatever you prefer)
My recommendation:
– Kirkland brand Protein bars – from Costco (contain 21g of protein and very little sugar – a fairly healthy option and a good source of protein)
– Lara bars – made with dates and nuts, vegan, dairy free and gluten free – good source of carbs
(Note: Your average granola bar contains lots of sugar and not very much nutritional value)
*I like to bring two bars a day plus 2 total extra Cliff bars in case of emergency. Again, bars are heavy, so bringing too many will increase your pack weight significantly.
- Hot chocolate packets (These are heavy, so don’t bring more than what you think you’ll actually drink, or maybe just 2-3 as a treat). My friend only brought tea to drink as it is much lighter, but sometimes have a hot chocolate if it’s a rainy day and you walked many kilometers is a nice treat.
- Tea (as many as I think I will need for the trip)
3. Sleeping items
- Air mattress – I highly recommend the Therm-A-Rest NeoAir XLite. It is very light, rolls up very small, and is super comfy. It is not down-filled but you don’t need a down filled pad for West Coast Trail.
- Sleeping bag – I use my MEC Delphinus -9°C sleeping bag. It is down filled but the surface is a material that wicks water. I quite like it. Some people prefer synthetic, but I find down warmer and more comfortable, and compresses into a smaller size. That said, you don’t want a down sleeping bag getting wet. I always put my sleeping bag in a dry bag and stick it in my pack, at the very bottom.
- Tent
–
My husband and I use my 3-man backpacking tent for the two of us. I find 2 man
backpacking tents are too small – but we don’t mind carrying the extra weight.
We also have a 3 season fly with a vestibule, under which we can leave our
shoes and packs, which is great when it rains. We split the weight as such:
person 1: tent and poles, person 2: fly (it’s heavier than the tent itself,
which is mostly mesh).
- If you prefer to carry less weight, a smaller tent with a less extensive fly is definitely an option. There are many light weight tents out there these days.
- If hiking alone, a one-man tent is best for low weight.
- Optional: Small, blow up pillow – my friend with the ultra light pack did not bring one – but I like my comforts. The one I use is: Sea to Summit ultra light regular pillow available at Atmosphere. They roll up very tiny and weigh 60g (2.1onces). Of course, my friend with the ultra light pack did not bring a pillow.

4. Additional Items
- Satellite communication device such as the Garmin Inreach, which allows you to quickly get help as well as message people back home to let them know you are okay. They are great to have, but I did not get one until recently, so never used to backpack with one in the past. Full disclosure: I did not have it on the West Coast Trail, but my friend had a Spot. We later found out that the majority of her “I’m Okay” messages she sent to her husband never made it. (I have since used the Garmin Inreach in many remote locations and messages have gone through every time.) It adds weight to your pack, but also adds peace of mind.
- Stove – I use the Whisperlite International and it works great. I like the fact that the fuel bottles are refillable, and you can see how much fuel is left in the bottle, which makes these stoves less wasteful and more environmentally friendly than the canister stoves. As well, the bottles come in different sizes, so you can pick and choose. Other people prefer the MSR canister stoves or the Jetboil as they are quicker to set up and boil water a little faster (they can come pressurized so you don’t have to pump them yourself).
- Fuel –
If you are using the Whisperlite International or other MSR liquid fuel stove,
you will need white gas (though some of the work with other fuels – refer to
the user manual for your stove). You can
buy white gas at MEC, Canadian Tire, or most hardware or hiking stores.
- How much fuel to bring: According to MSR you can boil 1.3L for every once if using the Whisperlite International stove, so with the medium sized bottle you can get 3L of water every day for 7 days. They have a chart with all their other stoves at:
https://www.msrgear.com/blog/stoves-101-how-much-fuel-should-i-carry/#fuelchart
We brought two medium sized bottles for two of us (though we ended up boiling water for our other friends several times) and still had some fuel left over at the end of the trip. The chart also contains fuel recommendations for canister stoves.
- Pot/Mug/Bowl – There are many options/combinations for this. Some people use one receptacle for all three functions. I like to have my coffee, while eating my oatmeal, and having the ability to boil more water at the same time…As such, here’s my set up:
- Pot: GSI Halulite boiler – I absolutely love this pot. It is incredibly light weight and functional with insulated handles so you don’t burn yourself. I use the 1L version when by myself or with another person with their own small pot. (Atmosphere has the 1L and MEC has the 1.8L version. GSI Halulite also makes 2L and 3L pots.) ***When backpacking with my husband, he brings the 2L pot so I don’t bring my 1L
- Mug: There are many light-weight ones available. I use the GSI Infinity Backpacker mug.
- Bowl: I just use a simple MSR nesting bowl, but again there are many light-weight choices. Some people don’t bother bringing a bowl, and instead just use their mug or pot, hence reducing the weight of their pack.
- Camera: The last time I hiked the trail, I had brought my Panasonic FZ 200, which took fabulous photos, but I decided it added too much weight to my pack. Shortly thereafter, I purchased my Lumix DMC ZS60, a travel camera, which also takes wonderful photos, but weighs about as a third of the FZ 200. This is now my hiking camera.
While many people just use their phones to take photos, for those of us photo snobs (and/or take soooo many pictures that the phone battery would die), the phone option may not be good enough. The Lumix DMC ZS60 takes fantastic photos, has a great zoom, and awesome night shots. It only weighs 0.62 lbs. Down side – it is not water proof, so I always bring a small, light dry bag to carry it in if it is raining. That said, there are many very good, small, waterproof cameras out there (ex: Olympus has some really good ones). And while the newer phones take good pictures, I still believe that if you want the best close ups of wildlife, or those beautiful west coast sunset shots, you need an actual camera.
This, of course, was one luxury item that my friend with the light pack did not carry.
- Headlamp – I don’t go hiking without one. Useful for the tent, trips to the outhouse at night, and hiking if you get stuck out after sunset. On multi-day trips I recommend bringing an extra set of batteries.
- Camp suds – the green liquid stuff you can get from outdoor stores like MEC or REI – it is biodegradable and is useful for washing dishes, clothes, and yourself. You only need a SMALL container – think a couple of drops a day.
- Hydration pack – it’s nice to sip water as you go without having to stop to take out your water bottle. That said, I drink a lot of water. Some people prefer to simply carry water bottles.
- I will often bring a water bottle as well in order to have a vessel in which I can mix in electrolytes. The best light weight water bottle: SMART water bottle – light and the perfect shape to fit into your backpack side pockets. This idea came from my light-weight pack friend, who, by the way, only brought a couple of SMART bottles instead of hydration packs or Nalgene bottles…another little way to get his pack lighter.`
- Water treatment – There are many to choose from. For West Coast Trail, just about anything works. We primarily used a gravity filter as it’s easy to scoop up water and then hang it from a tree (you don’t have to pump). The gravity filter is fantastic for filtering a large amount of water so good for groups and it means you don’t have to keep running back and forth to the creek. The one we have has a 4L capacity.
***Note:
- I always also carry a pack of pills as
backup (but you have to wait about 30 mins after adding the pill).
- One of my friend’s carries a UV filter that screws onto her Nalgene bottle, which is great for getting up to 1 liter of water at a time, quickly, while on the go. (downside: it is battery operated)
- I used to pack with an MSR hand pump filter, but the gravity filter is now my go-to unless I’m worried about there only being very tiny streams with not enough flow to easily fill up the gravity filter bag. This is not a concern on the WCT.
- (My friend with the ultra light pack only brought tablets).
- Paracord and a carabineer – most of the camping area have metal bear boxes for food. However, as mentioned above, one site we were at had a missing bear box and many people – so we had to hang our food up in a tree. Paracord is versatile and can be used for other things as well such as clothes line, helping to secure a tent, etc.
- Knife (Gerber or Swiss Army Knife)
- Waterproof matches in Ziploc bags (kept in different spots just in case one gets wet or lost). I usually keep one pack with the stove and another pack in my pot.
- Fire starters are useful, as the wood is often damp. An axe or hatchet is an unnecessary weight on the West Coast Trail as you use driftwood for fires, which comes in all sizes and doesn’t need chopping.
- Hiking poles – I definitely recommend bringing a set of these!!! With all the mud, log crossings, slippery boardwalks, etc, they are a life-saver. Not only do they help balancing on the tricky parts of the trail, they can be used to gage mud or water depth. I recommend light-weight foldable poles such as: Black Diamond Alpine FLZ poles.
- Light weight travel towel – It’s nice to have something to dry yourself with after you wash your face or have a little dunk in a stream.
- Reading material: I brought a book last time I hiked the trail (this was before I got my Kindle) – I enjoy being able to relax after a day of walking and read for a bit. I have since purchased a Kindle. It turns out that e-readers are much lighter than a book. The battery lasts a week no problem, if you read a couple hours before bed every night.
- Light- weight rain poncho – I like to bring one for the really rainy days – nice when you want to sit down and take a break, or even put over yourself and your pack when it’s pouring rain.